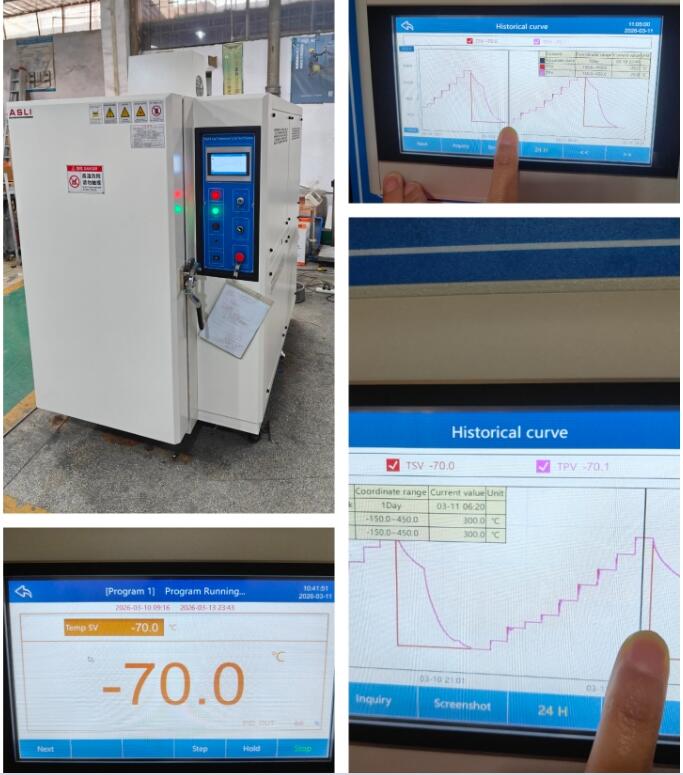
Your First Climate Chamber Purchase Made Simple: 10 Practical Tips
1. Define Your Test Objectives & DUT Features
Begin by listing the specific tests you plan to run (e.g., thermal cycling, humidity soak) and the device under test (DUT) characteristics: size, weight, and material sensitivity. Clear objectives narrow your options immediately.
.
Identify primary applications—R&D versus production QC—and any special requirements, such as vibration integration or rapid transition ramps.
2. Determine Required Temperature Range
-
Decide on both minimum and maximum temperatures. Common ranges are –40 °C to +85 °C for electronics and –70 °C to +150 °C for military or aerospace.
-
Always plan a safety margin: if your highest expected test is +85 °C, consider a chamber rated to +100 °C or above to future-proof your investment.
-
-
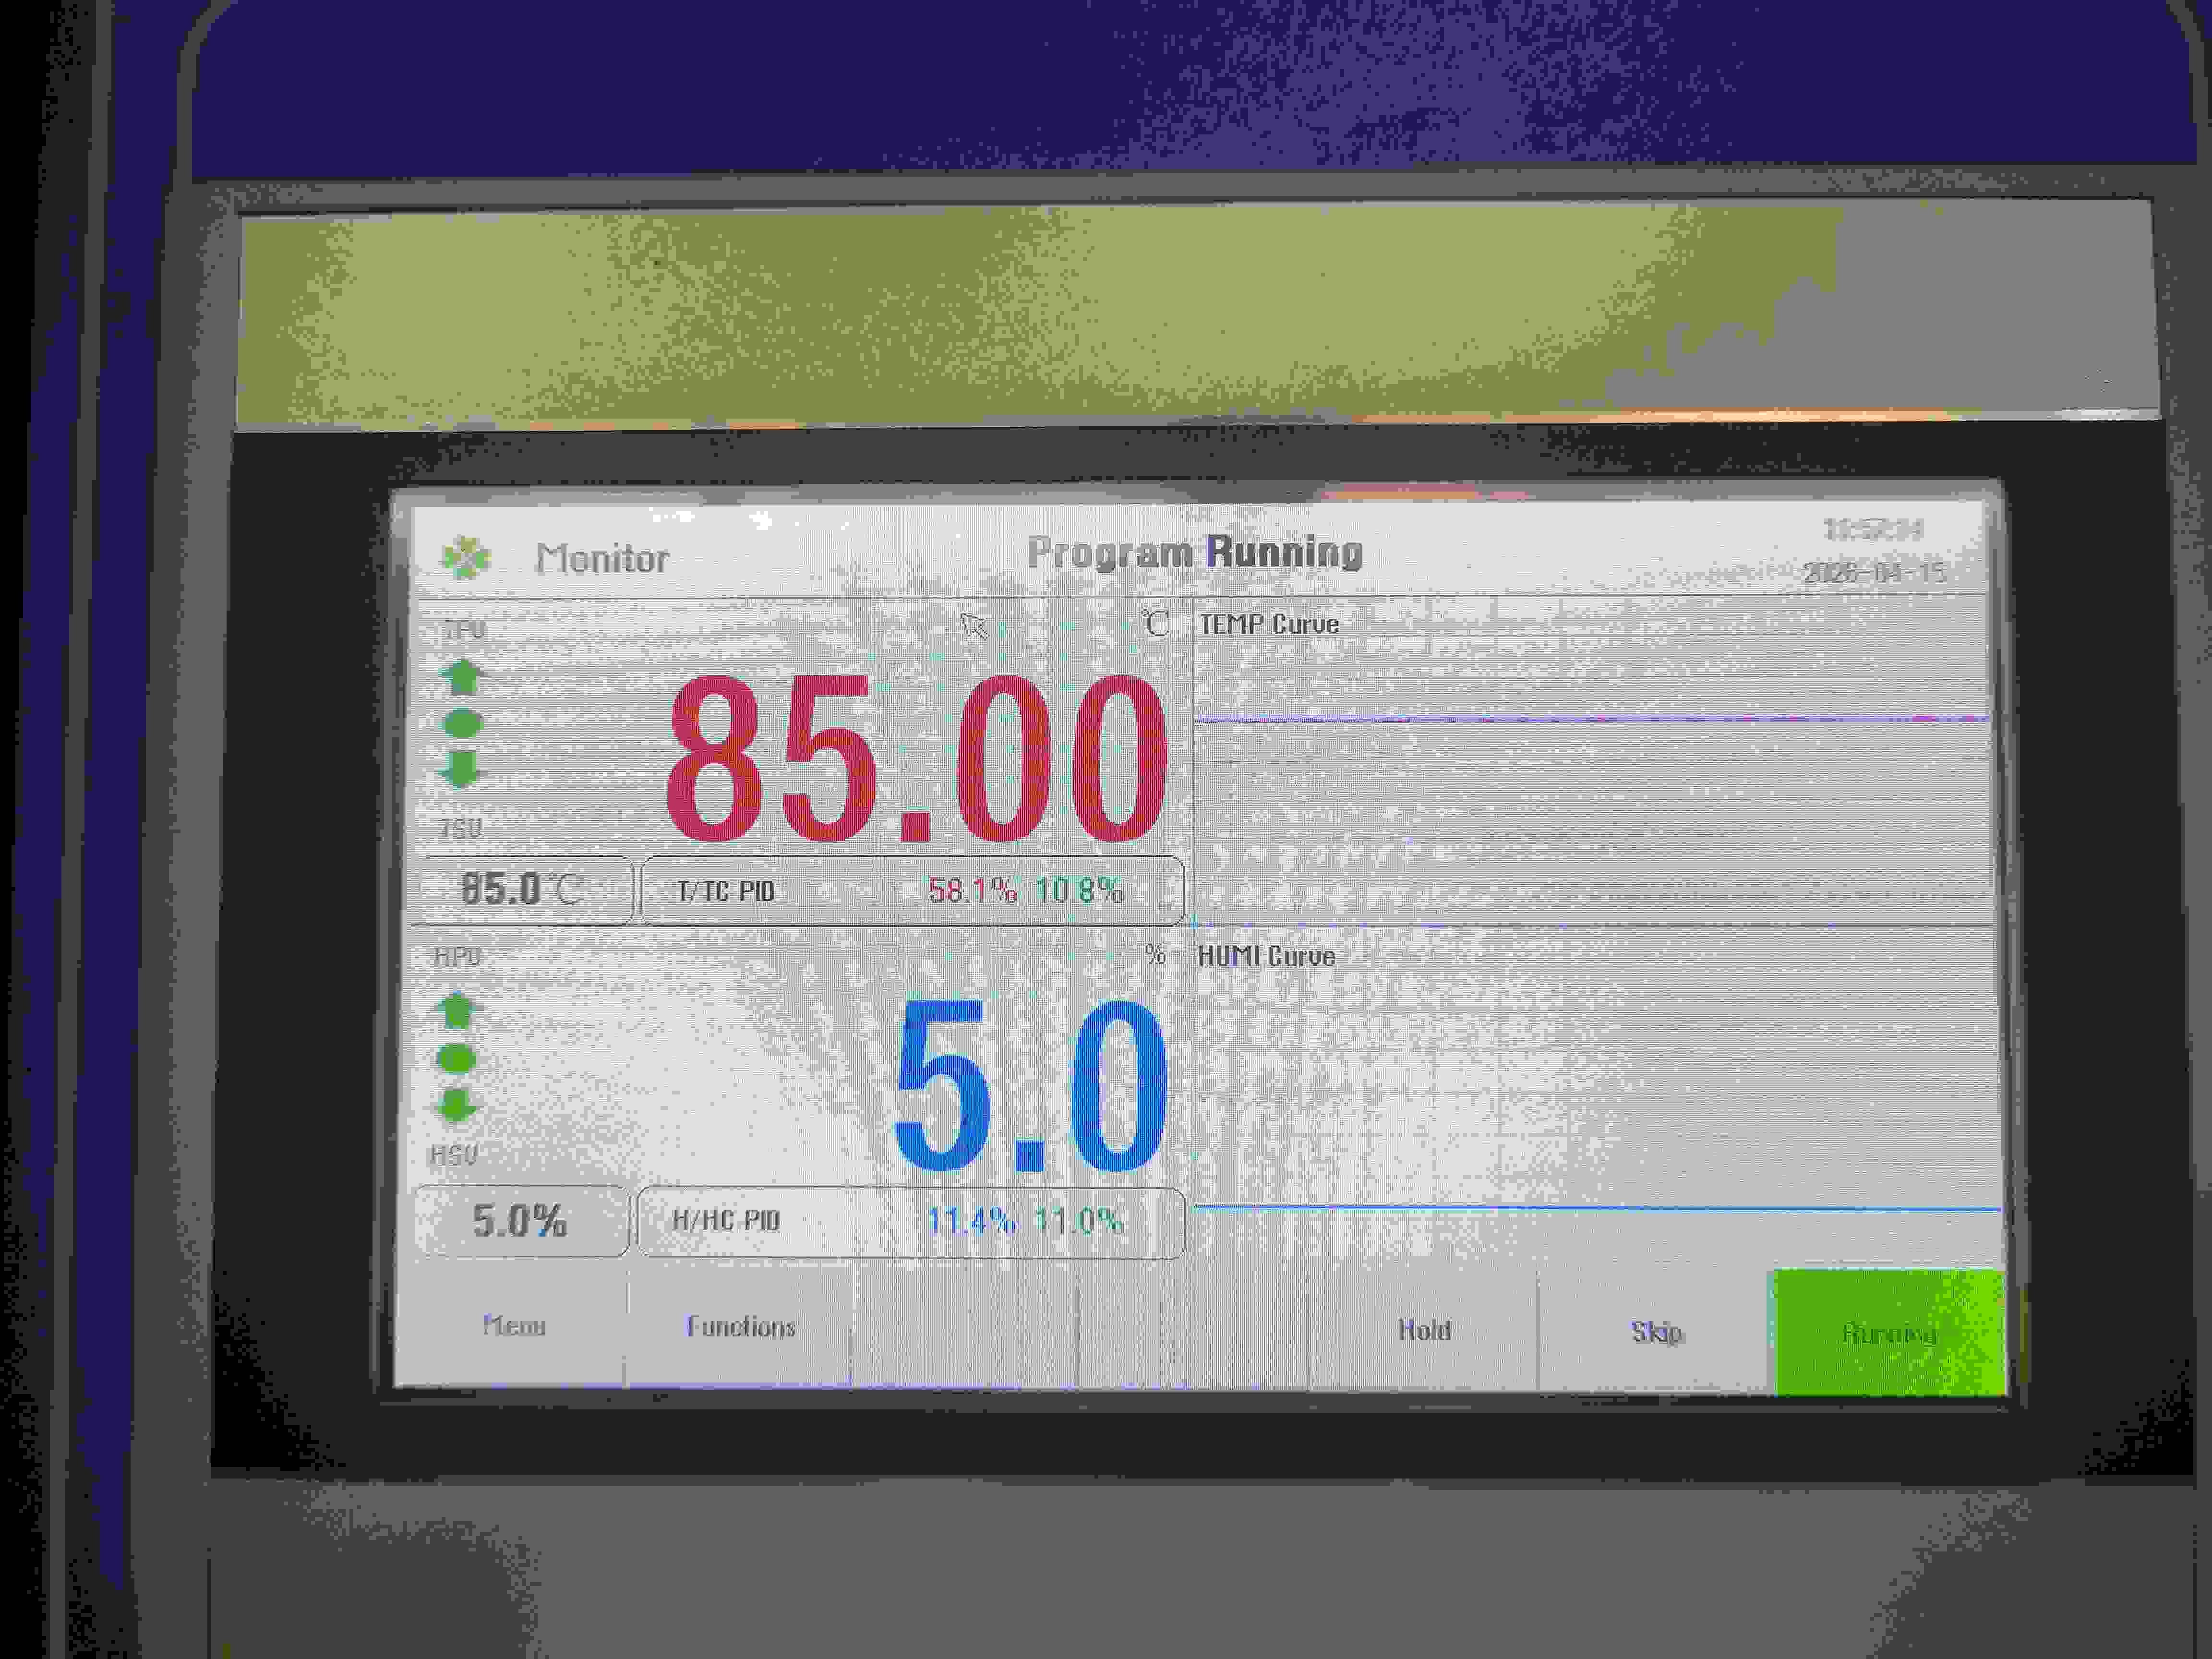
Temperature and humidity range settings
3. Determine Required Humidity Range
-
Most chambers offer 20 %RH to 95 %RH control. Low-temperature dehumidification below 10 %RH is more challenging and costly, so only specify it if your tests demand ultra-dry conditions.
.
-
Check whether humidification is via steam, ultrasonic, or atomized systems—each has pros and cons in speed, stability, and maintenance.
4. Select Chamber Size & Internal Volume
-
Your DUT volume should not exceed 20 % of the chamber’s usable space to maintain uniform conditions.
.
-
For multiple samples, ensure enough clearance for air circulation (at least 1 cm from walls).
-
Consider both length/width/height and door configuration (side-swing vs. vertical lift) to fit lab footprints and loading workflows.
-
-
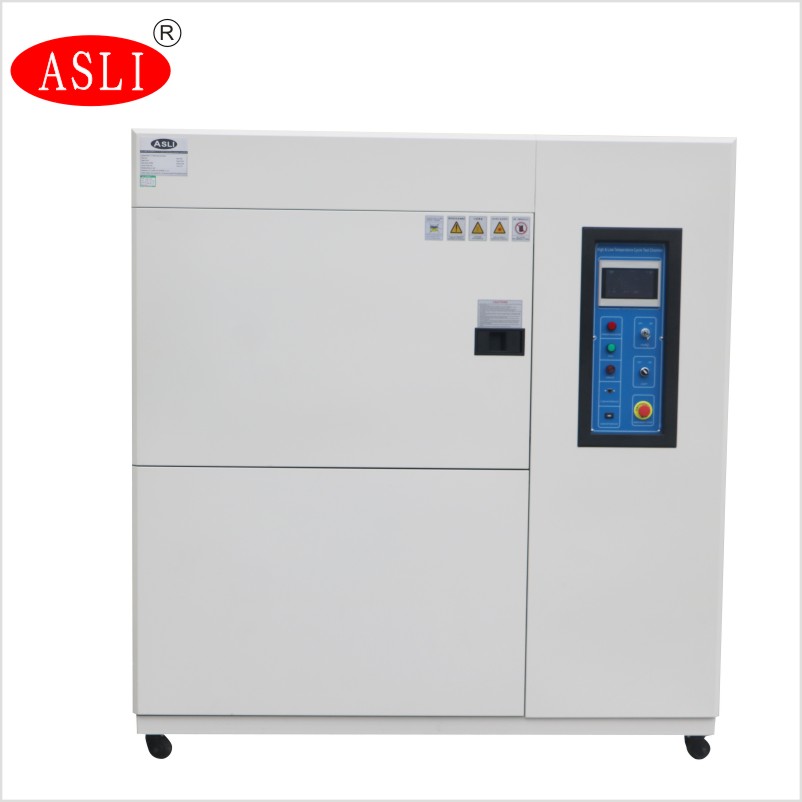
Temperature and humidity test chamber size customization
5. Evaluate Temperature Stability & Uniformity
-
Look for stability specs (e.g., ± 0.5 °C) and uniformity specs (e.g., ± 1 °C) over the full range. High-end models often quote 27-point measurements per DIN 12 880:2007.
-
Better stability means more reproducible results, critical in R&D validation and regulated environments.
-
-
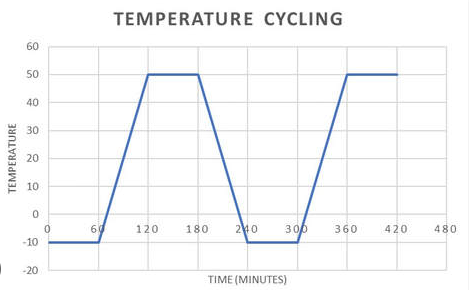
Temperature and humidity test chamber data curve
6. Assess Control System & Programming Flexibility
Modern chambers feature touchscreen or PC-based controls with multi-segment ramp/soak programming and real-time graphing.
Confirm support for:
-
Remote upload/download of test profiles
-
Real-time alarm notifications via Ethernet or USB
-
Modular I/O expansion for external sensors
7. Confirm Standards & Certifications
Ensure compliance with relevant standards: ISO 9001 for quality management; ASTM D313 for humidity tests; MIL-STD-202G for shock and vibration compatibility.
CE and UL markings guarantee electrical safety in international labs.
8. Review Cooling Method & Energy Efficiency
-
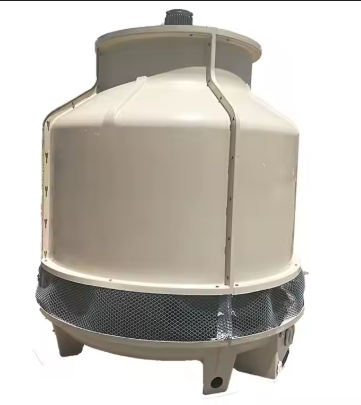
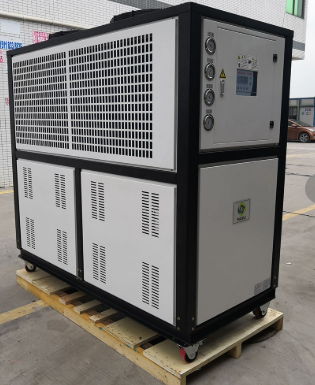
Decide between air-cooled and water-cooled condensers. Water cooling offers lower ambient heat but requires a plant water infrastructure.
-
Look for dual-compressor or inverter-driven designs with eco-mode to reduce power draw by up to 30 % during idle periods.
-
-
Water tower or air cooler
9. Ensure Data Logging & Connectivity
Data integrity is vital. Seek chambers with built-in multi-point data logging, USB/SD export, and cloud connectivity for Industry 4.0 integration.
Some vendors offer companion apps and dashboards to visualize profiles, set alerts, and download reports automatically.
10. Plan Service, Calibration & Total Cost of Ownership
-
Calibration intervals and on-site calibration costs
-
Preventive maintenance packages
-
Local spares availability
-
Warranty length versus extended service contracts
A longer warranty and local support can reduce unplanned downtime by up to 50 %.
Armed with this 10-step checklist, procurement professionals can confidently shortlist and evaluate temperature & humidity chambers that align with both current testing needs and future growth. For a turnkey solution, look for vendors who offer detailed spec sheets, virtual demos, and customizable service agreements—so you get exactly the performance and support your lab demands.